


Android Data Recovery


Like many other websites, to enhance your browsing experience, Microsoft Edge browser also records your browsing history such as the information you fill in on forms, passwords and cookies from websites that you visit regularly. However, to protect privacy from prying eyes, you might want to clear the History, Cookies, Cache, etc. on the computer, especially on a public or shared PC.
In this situation, you can either browse in InPrivate mode, which like other browser's private modes, doesn't record your activities as you surf the Internet or choose to clear your entire history or just wipe certain aspects of it.
Part 1. How to Browse InPrivate in Microsoft Edge
Part 2. Two Methods Clear History and Cookies in Microsoft Edge
Part 1. How to Browse InPrivate in Microsoft Edge
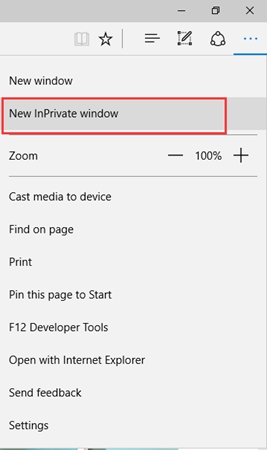
1. In Microsoft Edge, select the More (...) icon, and then New InPrivate window.
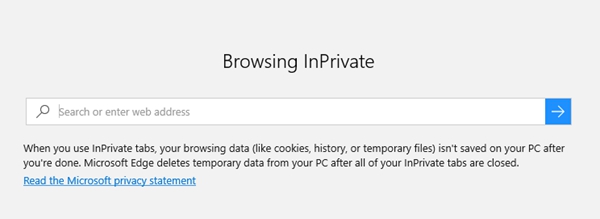
2. Now you can search in private mode. Your browsing data (like your history, temporary internet files, and cookies) will not be saved on your PC once you're done.
Part 2. Two Methods Clear History and Cookies in Microsoft Edge
Method 1. Delete Search History from Setting Tab
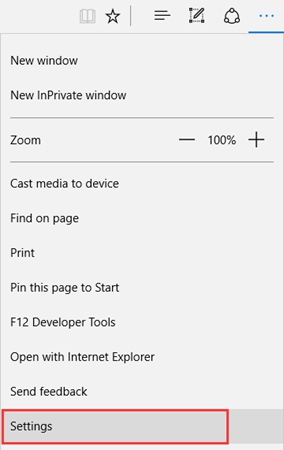
1. On the top-right side of the browser, you will see (…) "More action" option. Just click on it and then click on "Settings" option.
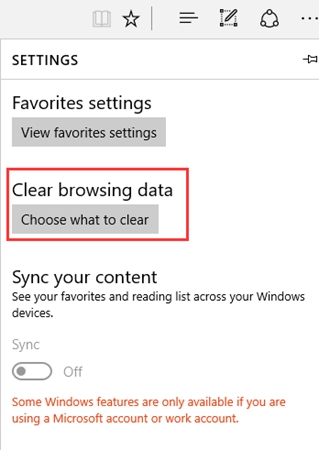
2. Scroll down to the "Clear browsing data" section and click "Choose what to clear" button.
3. In "Clear browsing data" screen, a list of the different areas which can be wiped. Just as shown in picture below. Choose the check boxes next to the data you want to delete, then click on Clear.
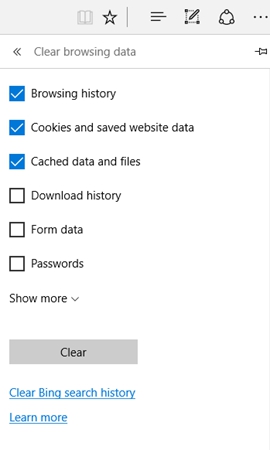
Note:
It is also possible to delete your Bing search history from this same menu, just click on the option below Clear.
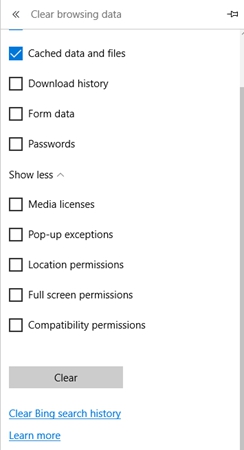
If you click "Learn more" you can see even more options.
Method 2. Remove Browsing Histories from the History Tab (Faster Way)
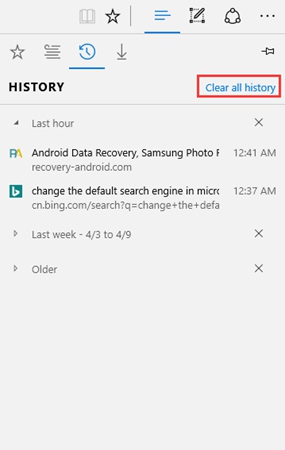
1. At the top-right corner, click Hub (three horizontal lines) icon to the left of the Note icon. Then, you'll see four buttons at the top of the panel. Click the History tab which looks like a clock.
2. In the top right-hand corner of the pane you'll see a link titled "Clear all history". After you click on it, you'll be taken to the same screen as you'd see if you were using the first method. Again, just select the desired check boxes and choose Clear.
This is how we can clear search history on Windows 10 computer. To protect your privacy information, you are also advised to delete search history, cookies, cache, etc. on your iPhone or Android phone.


Informative one, I dont expect that you guys will share also about Microsoft Smart Phone Tips. Good to see the Blogs.
We are Data Recovery Company, some of details which given here is very useful one for US
http://www.datastoragesolutions.in/data-recovery-center-bangalore.shtml
We are the fastest and most cost-effective data recovery service in Bangalore. We have a team of experienced and certified specialists who can help you recover data from any type of computer or device. We offer a wide range of data recovery services, from data recovery for personal computers to data recovery for business systems.