Android Data Recovery
After iOS 9 Beta 4 comes out, many Apple fans upgrade their iPhone to iOS 9. But they soon regret that because there are still some bugs which brings some inconvenience to them. I believe that you are one of those who can't bear it any more and want to downgrade your iOS 9 beta back to iOS 8.4. Below I will give you a step-by-step guide.
At the very beginning, I will recommend you to back up your iPhone first just in case some unexpected incidents like failing downgrade happen. A backup can help you minimize damage for your iPhone, so does iPad. After backing up iPhone, you can read the below steps to start the downgrade.
Simple Steps to Dowgrade iOS 9 to iOS 8.4
Step 1. Download the latest iOS firmware–iOS 8.4 on computer for your iPhone.
Note: Apple has closed the access to downgrade your iPhone back to iOS 8.3, you can downgrade to iOS 8.4 according to your device model.
Step 2. Double click to launch iTunes 12 from your dock.
Step 3. Enter DFU mode of your iPhone:
1. Press and hold the "Home" button and the "Power" button simultaneously.
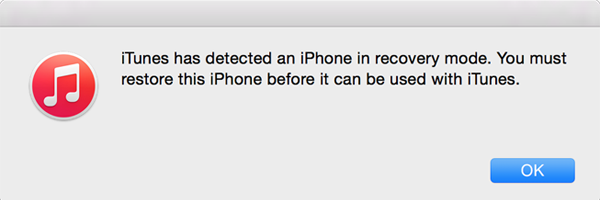
2. Wait for 10 seconds and release the "Power" button. But, keep on holding the "Home" button until your device gets detected via recovery mode in iTunes.
3. At this moment, you will see a black screen on the device.
Then tap "OK" and your iPhone will get into the recovery mode.
Step 4. Press the "Alt/Option" key on your Macbook ("Shift" on Windows) and click "Restore iPhone…" on the lower-right corner.
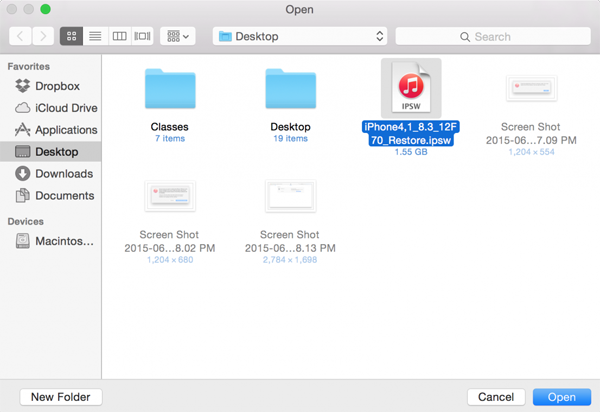
Step 5. Find the firmware file you just downloaded on your computer and open it.
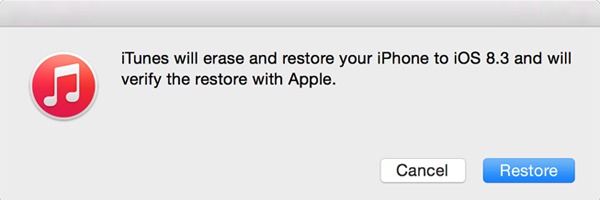
After that, there will pop up a small window saying that iTunes will erase and restore your iPhone to iOS 8. Just click "Restore" to start the process.
With the simple 5 steps mentioned above, you can downgrade your iPhone from iOS 9 to iOS 8. To emphasize one more time, please make sure that your iPhone data is well backed up before you downgrade the iOS.


